We will break the talking to the server bit into two pieces. First we will send / set some data on the server and then in the next post we will retrieve data form the server.
The thing that we need to understand is that server requests are asynchronous. As much as we RPC loving server dudes want to make synchronous calls – resist it. Accept and embrace asynchronous calls – in Ajax it is the only way. And as we will see in the next post, batched Ajax is the only way. Since widgets are tiny and they will be on lots of screens, for performance reasons and decent user experience, batched asynchronous requests are essential.
I will use code snippets throughout the next few blog posts so you might want the entire files right away. Understand that these are the complete files and will have the complete solution in them that will be explained in the next few posts.
- Code for java/social-api/src/main/java/org/apache/shindig/social/opensocial/service/LearningHandler.java
-
Code for
features/src/main/javascript/features/learning/learning_client.js
In this exercise, we add a new server-side service to Shindig to be accessed using the osapi feature. I may have jacked-in at the wrong place – but this will get you started.
java/social-api/src/main/java/org/apache/shindig/social/opensocial/service/LearningHandler.java
package org.apache.shindig.social.opensocial.service;

import org.apache.shindig.protocol.Service;
import org.apache.shindig.protocol.Operation;

@Service(name = "learning")
public class LearningHandler {

  @Operation(httpMethods = "GET")
  public void setOutcome(SocialRequestItem request) {
    System.out.println("Param = "+request.getParameter("outcome","default"));
    // Do something clever here like call and SPI...
  }
}
Now of course, we would do something more clever than just printing out out parameter – but that detail is up to the container. But this short bit of code is enough to see the round-trip to the server.
Then modify this file:
java/social-api/src/main/java/org/apache/shindig/social/core/config/SocialApiGuiceModule.java
import org.apache.shindig.social.opensocial.service.PersonHandler;
import org.apache.shindig.social.opensocial.service.LearningHandler;

   protected Set<Class<?>> getHandlers() {
     return ImmutableSet.<Class<?>>of(ActivityHandler.class, AppDataHandler.class,
       PersonHandler.class, MessageHandler.class, LearningHandler.class);
   }
This makes sure our service and methods are included in osapi as osapi.learning.setOutcome. And yes, it would be nice if there were a way of doing this without jacking in at a code level. Perhaps there is such a way that I missed or perhaps it is simply ‘yet to be invented’.
Good Comment from Michael Young Instead of modifying SocialApiGuiceModule you can extend it (ie LearningGuiceModule) and replace this module in web.xml.
Just because we are in a hurry, we will compile this and see if our server call works before we alter our learning feature. So compile and start Jetty:
mvn
mvn -Prun
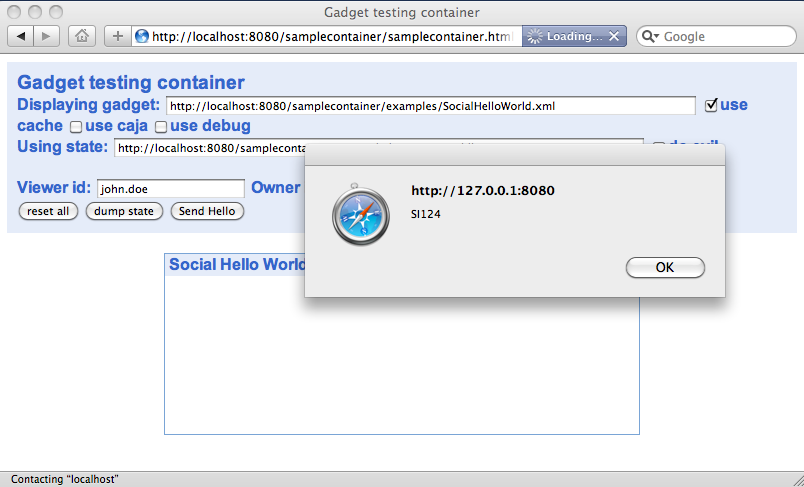
And navigate to http://localhost:8080/samplecontainer/samplecontainer.html
You should see the “Social Hello World” gadget. Now lets edit this file:
vi ./target/work/webapp/samplecontainer/examples/SocialHelloWorld.xml
And add these lines:
   gadgets.window.setTitle('Social Hello World');
   osapi.learning.setOutcome({'outcome' : '123456'}).execute(function (result) {
        if (result.error) {
            alert('Error, unable to send outcome to server.');
        }
    } ) ;
     var hellos = new Array('Hello World', 'Hallo Welt', 'Ciao a tutti',
...
Actually you will note that to do this we do not need the learning feature because we have fully provisioned the server-side learning service into the osapi helper. When the gadget starts up, osapi pulls down all its services from the server and registers them. This is independent of gadget registration which the Require accomplishes.
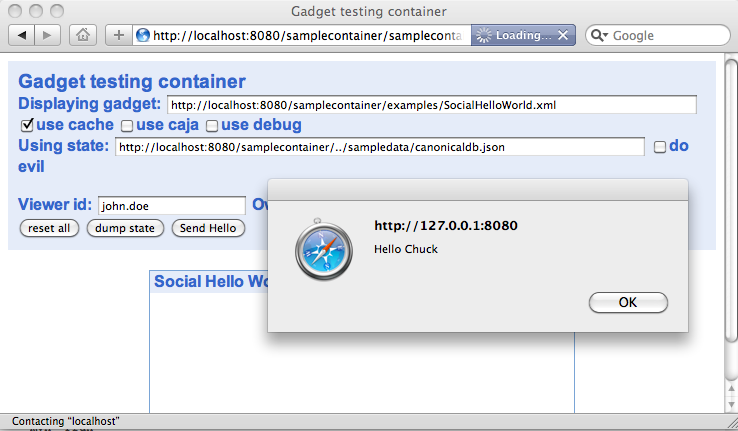
When you press refresh (or whatever you need to to force a full reload) on the container and watch the log on the server, you will see a cute litle line scroll by in your server log:
Param = 123456
Very simple – but very cool.
Now lets alter our learning feature to call the service on our behalf in the setOutcome method. We will give the user the option to provide a handler or let the learning feature do the handling.
We edit the setOutcome method in learning_client.js from the last post as follows:
        setOutcome : function(data, handler) {
            if ( handler === 'silent' ) handler = (function (result) { } );
            if ( handler === undefined ) handler = (function (result) {
                if (result.error) {
                    alert('Error, unable to send outcome to server.');
                }
            } ) ;
            osapi.learning.setOutcome({'outcome' : data}).execute(handler);
        },
It is pretty simple stuff, the user can give us the handler, or we provide a simple alert on error, or we can provide a completely silent handler at the user’s request.
We also need indicate that we want access to the osapi service:
taming.js
var tamings___ = tamings___ || [];
tamings___.push(function(imports) {
  ___.grantRead(gadgets.learning, 'getContextLabel');
  ___.grantRead(gadgets.learning, 'getContextName');
  ___.grantRead(gadgets.learning, 'setOutcome');
  caja___.whitelistFuncs([
    [osapi.learning, 'setOutcome']
  ]);
});
This makes sure that we have access to our service call when running through Caja. (I think I am saying this properly).
Once we have done this and recompiled Shindig, started Jetty and started the container, we make the following changes to the “Social Hello World” gadget. Now lets edit this file:
vi ./target/work/webapp/samplecontainer/examples/SocialHelloWorld.xml
And add two lines:
   <Require feature="osapi"></Require>
   <Require feature="learning"></Require>
   <Require feature="settitle"/></Require>
…

   gadgets.window.setTitle('Social Hello World');
   gadgets.learning.setOutcome('0.97');
     var hellos = new Array('Hello World', 'Hallo Welt', 'Ciao a tutti',
...
We are just using our learning gadget method to send the outcome to the server. By omitting the second parameter, the learning feature will give us a little alert if it has trouble sending data to the server.
Again, we press refresh and in the log we see:
Param = 0.97
So that completes our look at a simple call to the server to send some data. In the next post, we will get a little deeper into how to retrieve data from the server. The bit that gets complex is the requirement that things be done asynchronously and if at all possible with multiple batched requests in a single request.
So the code will initially look a little obtuse – at its core it is simple – but the asynchronous pattern takes a little getting used to. And since I only figured it out in the last 24 hours, I might have missed a bit in the pattern as well. Of course comments and improvements are welcome.